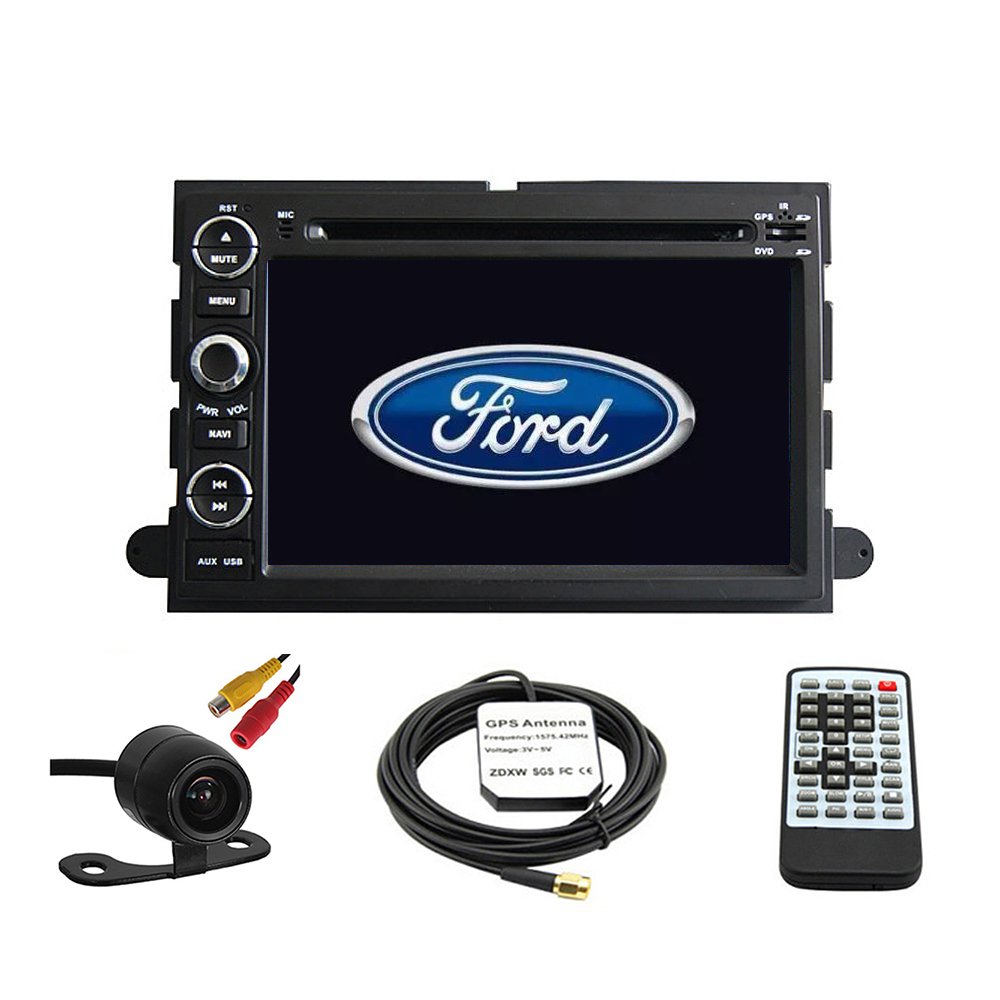
Keeping your Ford GPS Map Update is crucial for precise navigation and a seamless driving experience. Updated maps provide the most recent road data, new routes, and points of interest. Here’s a detailed guide on how to update your Ford GPS map.
Why Should You Update Your Ford GPS Map?
- Accurate Navigation: Outdated maps can result in incorrect directions, leading to missed destinations and unnecessary detours.
- Enhanced Safety: Updates include information on new traffic patterns, road closures, and construction zones, improving your driving safety.
- Improved Features: Updates often introduce system optimizations and add fresh points of interest.
Verify Compatibility
Before proceeding, confirm that your Ford vehicle supports GPS updates. Here’s how:
- Identify the Model and Year: Consult your vehicle’s manual or check the dashboard display for this information.
- Determine the System Type: Verify whether your car uses SYNC 3, SYNC 4, or another infotainment system.
- Check the Storage Method: Identify if updates require a USB drive, SD card, or over-the-air downloads.
Steps to Update Your Ford GPS Map
Step 1: Prepare for the Update
Check Your Current Map Version
- Access the infotainment system’s settings menu.
- Navigate to “About” or “System Information” to locate the existing map version.
Gather the Necessary Tools
- A USB drive or SD card with ample storage capacity.
- A computer with an internet connection.
- Your Ford account credentials.
Ensure Adequate Power
- Keep your car battery fully charged or the engine running during the update process.
Step 2: Download the Update
Access the Ford Owner Website
- Visit the official Ford Owner site.
- Log in or create an account using your vehicle details.
Locate Compatible Updates
- Enter your Vehicle Identification Number (VIN) to find the appropriate updates.
- Download the GPS map files onto your computer.
Prepare the Storage Device
- Format your USB drive or SD card to ensure compatibility.
- Transfer the downloaded files to the storage device.
Step 3: Install the Update in Your Vehicle
Insert the Storage Device
- Connect the USB drive or SD card to the designated port in your car.
Follow the On-Screen Instructions
- Your system will automatically detect the update.
- Confirm and initiate the installation process.
Wait for Completion
- The installation may take 30 minutes to an hour.
- Avoid turning off the engine or removing the storage device during this time.
Step 4: Verify the Update
Check the Map Version
- Return to the system settings menu to confirm that the map version has been updated.
Test Navigation
- Input a new destination to ensure the navigation system is functioning smoothly.
Tips for a Smooth Update Process
- Stable Internet Connection: Use a reliable network to download files.
- Backup Files: Save a copy of your current map files as a precaution.
- Regular Updates: Aim to update your maps annually to maintain optimal performance.
Troubleshooting Common Issues
- Update Not Detected: Verify that the correct files are on the USB or SD card. Reformat the device if necessary and try again.
- Installation Failure: Ensure there were no interruptions during the update. Restart the system and attempt the installation again.
- Error Messages: Consult the user manual or contact Ford customer support for guidance on specific error codes.
Alternatives to Manual Updates
- Over-the-Air Updates: Certain newer models support automatic updates via Wi-Fi.
- Dealer Assistance: Visit your local Ford dealership for professional help with the update process.
Keeping your Ford GPS Map Update ensures reliable navigation and a stress-free driving experience. By following this guide, you can complete the process with ease and efficiency. Safe travels!


No responses yet